How To Install pgAdmin 4 on Ubuntu 20.04
PGAdmin is a web-based GUI tool used to interact with the Postgres database sessions, both locally and remote servers as well. It is an open-source, powerful, and feature-rich graphical user interface (GUI) administration and management tool for the PostgreSQL database. It provides a powerful user interface that enables you to easily create, manage, maintain and use database objects, by both beginners and experienced Postgres users alike.
pgAdmin 4 supports PostgreSQL 9.2 or later, and runs on Unix and its variants such as Linux, Mac OS X as well as Windows operating systems.
In this article, we will learn how to install pgadmin 4 on Ubuntu 20.04 server. This guide assumes that you already have Postgres installed and set up. If not checkout How to Install Postgres in Ubuntu 20.04
Step 1 – Install the public key for the repository
Install pgadmin's public key (if you haven't done this before)
sudo curl https://www.pgadmin.org/static/packages_pgadmin_org.pub | sudo apt-key add
If you get an error message saying curl command not found when trying to download a file with curl, such as displayed below

it means that the curl package is not installed on your Ubuntu machine.
You need to Install curl first.
Step 2 – Create the repository configuration file
create the repository configuration file and update the repository, by entering the following command.
sudo sh -c 'echo "deb https://ftp.postgresql.org/pub/pgadmin/pgadmin4/apt/$(lsb_release -cs) pgadmin4 main" > /etc/apt/sources.list.d/pgadmin4.list && apt update'

You can check the contents of the repository file created using the following command:
cat /etc/apt/sources.list.d/pgadmin4.listit will display the following output
deb https://ftp.postgresql.org/pub/pgadmin/pgadmin4/apt/focal pgadmin4 main
Step 3 – Install pgadmin4
Step 2.1: Install for both desktop and web modes:
sudo apt install pgadmin4
Step 2.2: Install for desktop mode only:
sudo apt install pgadmin4-desktop
Step 2.3: Install for web mode only:
sudo apt install pgadmin4-web
Step 4 – Configuring pgadmin4 Web
Configure the webserver, if you installed pgadmin4-web or both editions, This will add a login screen to the pgAdmin4 web dashboard.
sudo /usr/pgadmin4/bin/setup-web.sh The above script will prompt you to create a user to access the web interface. Input an email address and password when prompted. Say “y” for other confirmation asked by the script.

Step 5 – Accessing pgadmin4 Dashboard
Step 5.1 For desktop application
Open start menu and search for pgadmin
Step 5.2 For web Interface
Access this in a web browser: http://localhost/pgadmin4
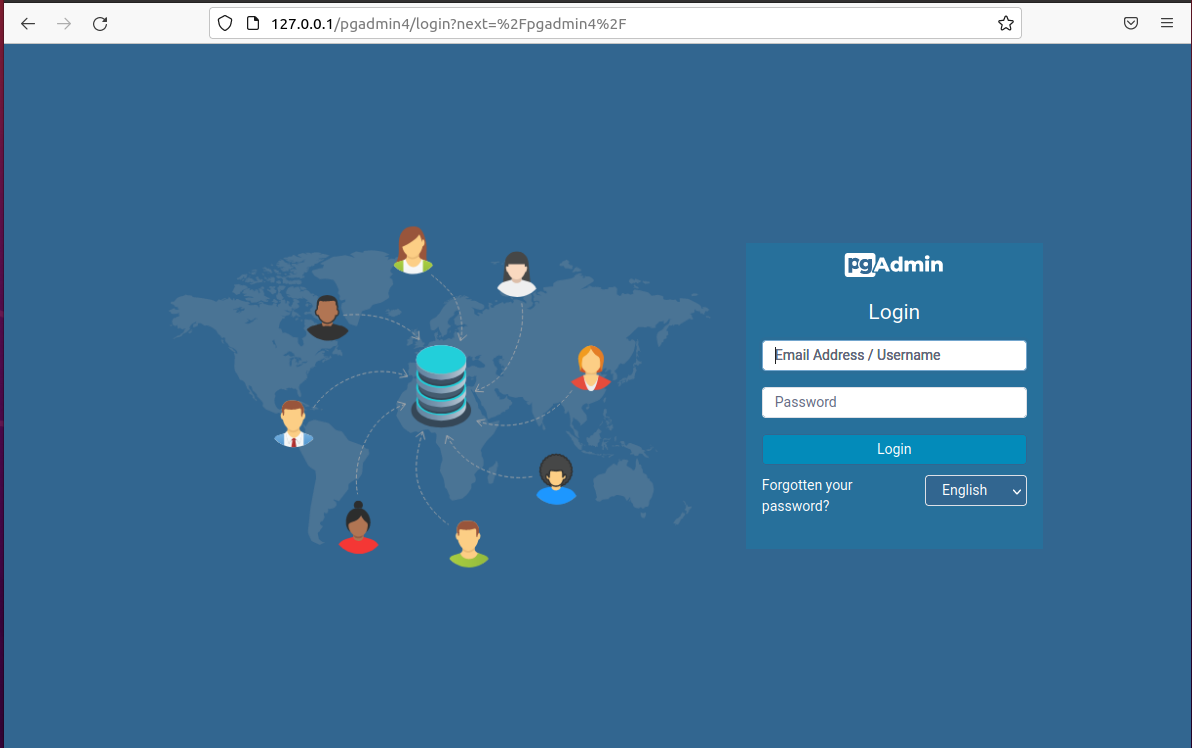
The pgadmin 4 login page will load prompting you for the email address and password that you set earlier. Click login after entering it.

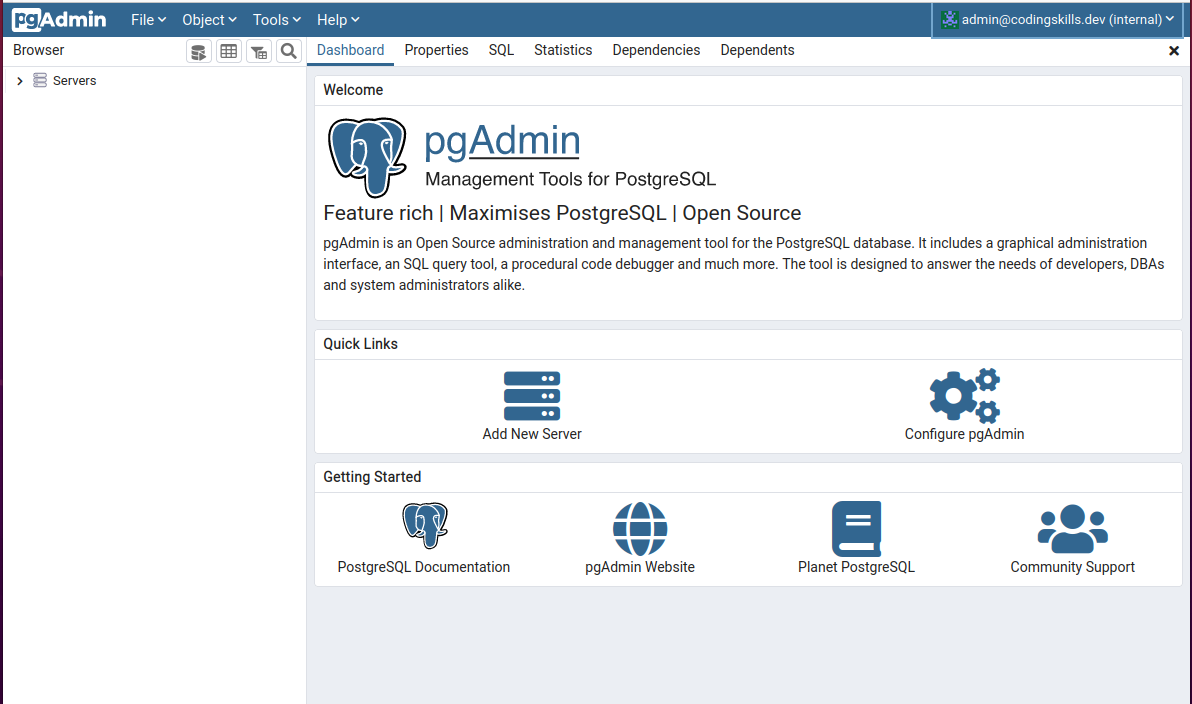
After a successful login, you will land at the pgAdmin4 web interface default dashboard.

Conclusion
This tutorial helped you to install and configure pgAdmin4 on a Ubuntu 20.04 Linux system.


